Users
The User Management page allows you to invite teammates, assign them specific roles, give them access to particular chat queues, and configure their permission levels.
Managing Users
Select a tab below to learn how to add and configure teammates:
- Add & Invite User
- Edit User
- User Experience
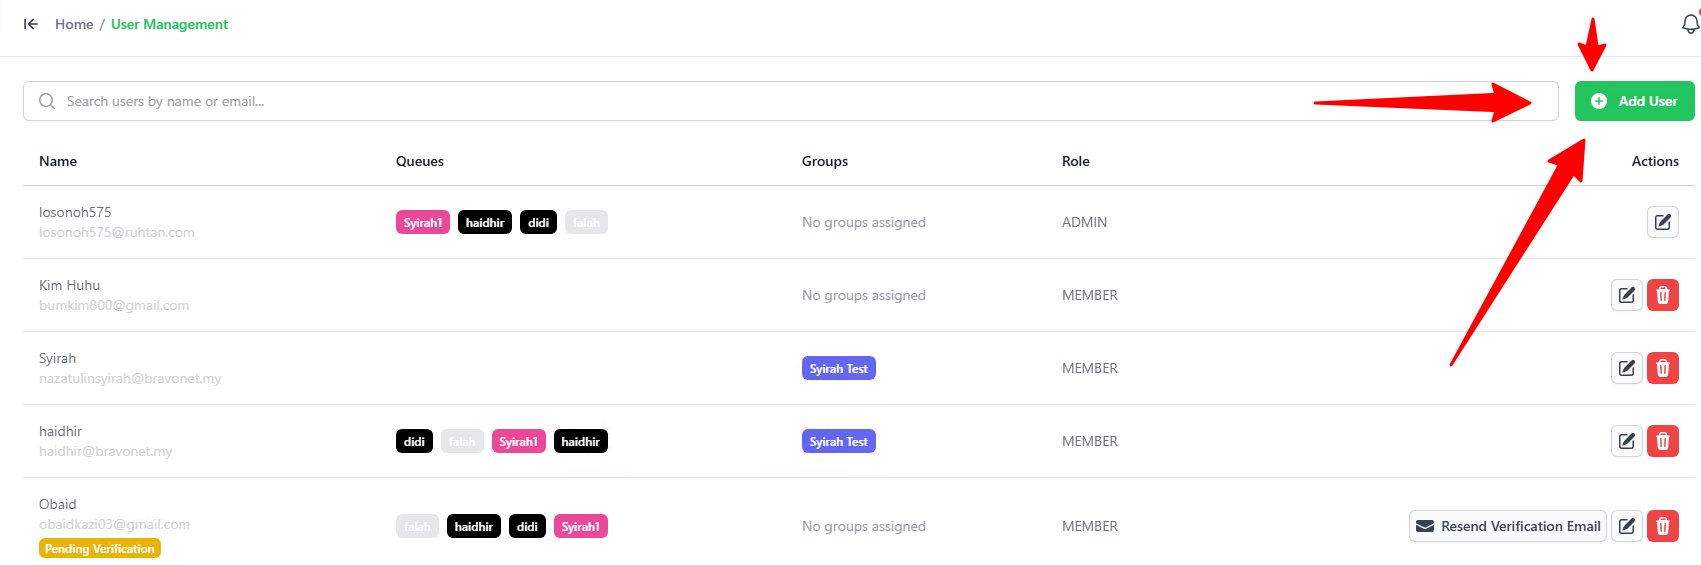
- Go to the User Management page.
- Click the green + Add User button in the top-right corner.
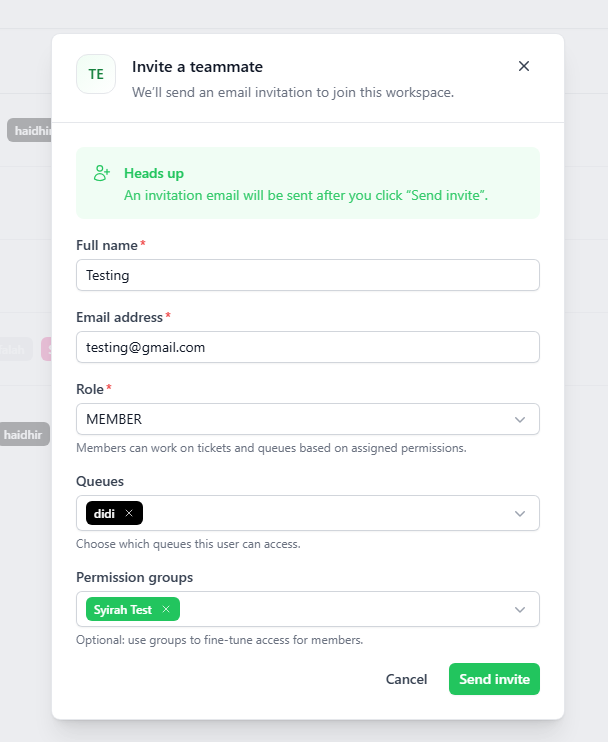
When the Invite a teammate popup opens:
-
Full name: Enter the new user's name.
-
Email address: Enter their email address.
-
Role: Select their role (ADMIN or MEMBER).
-
Queues: Choose the chat queues this user can access (you can select more than one).
-
Permission groups: Select the permission level for the user.
noteThe user will receive an email invitation to log in and set up their profile.
-
Click the green Send invite button.
-
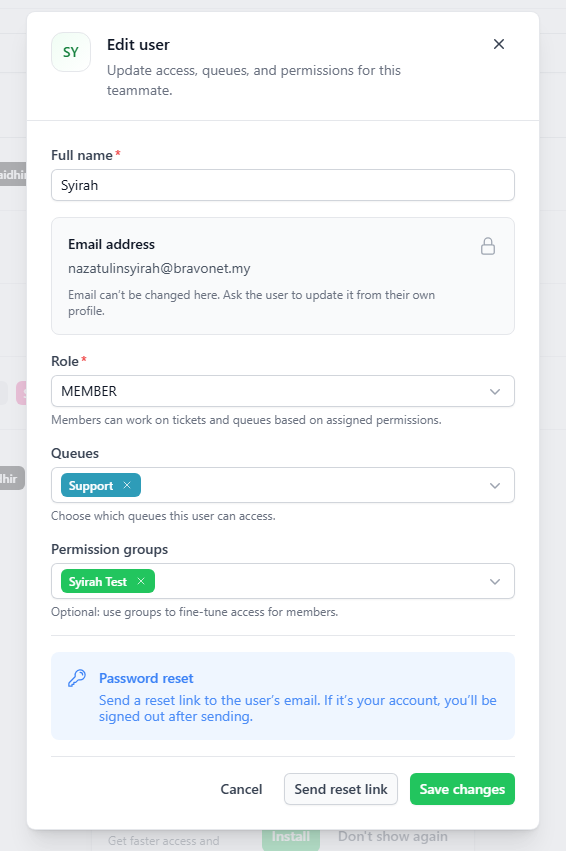
Click the Pencil icon next to the user you want to edit.
-
Update their Name, Role, Queues, or Permission groups.
noteYou cannot change a user's email address here. The user must update their email from their own profile page.
-
Click the green Save button.

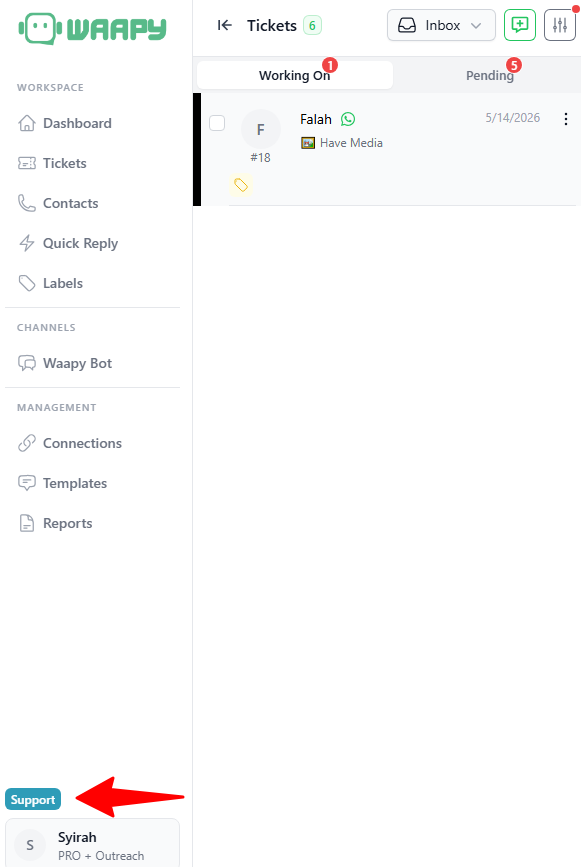
- When a user logs in, they will only see the tickets and queues that you assigned to them.
- They can view and select their assigned queues at the bottom left of the screen at all times.